Python is a general-purpose, high-level, object-oriented, interactive, and interpreted programming language. During 1985-1990, it was developed by Guido van Rossum. Also, the source code of Python is available upon the GNU GPL (General Public License) like Perl. Python language is named after a television show known as eMonty Pythonis Flying Circusi and not after Python snake.
The 3.0 version of Python was published in 2008. However, this version is assumed to be backward incompatible, later several of its essential aspects have been backported to be suitable for the 2.7 version.
Installing Python3 in Ubuntu
We will explain the steps for installing Python3 in Ubuntu in this article. Python is a very famous open-source, high-level, and interpreted programming language. Programmers and developers love to code in Python because of its easy development with other programming languages. However, there are several ways for installing Python3 in Ubuntu but here we will concentrate on the easiest way.
Prerequisites
- We should have an active Ubuntu server.
- We should have root or sudo access for running privileged commands.
- We should have apt-get or apt utility installed on our server.
Update our server
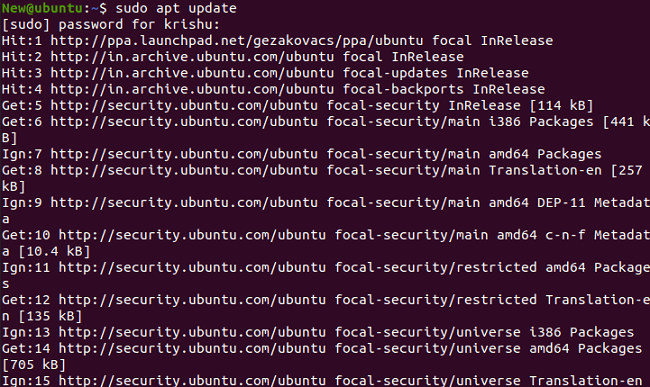
It is always recommended to update our system using the apt-get update or apt update command before we think about installing a new package. These commands will install every version of our package and decrease the chances of broken package errors.
The command is as follows:
- $ sudo apt update

Installing Python3.8
While we can install any version of the python3 package based on our requirement but here we will install the current version with the help of the following command:
- $ sudo apt install python3.8
Or
- $ sudo apt-get install python3.8

Checking Python3.8 version
We can check the installed Python version with the help of the following command:
- $ python3.8 --version

Write our first program using Python3.8
We must be now thinking about how we can verify the usability of the Python tool. We can write an easy Python file and execute it to confirm. For example, we are writing an easy Python program for printing 'hello world'. We are making a new file known as 'hello.py' with the help of the nano editor and specifying a print statement to show 'hello world'.
How to uninstall Python3.8
If we want to remove Python from our Ubuntu system which we have installed previously, we can uninstall it by using the following command:
- $ sudo apt remove python3.8
Installing Python3.9
There are two primary approaches for installing Python 3.9 in the Ubuntu system. But we will proceed with the straightforward and convenient approach. Our terminal will be opened by clicking Ctrl+Alt+T. Once our terminal is opened, we can follow the following steps.
Step 1- Adding PPA repository
First of all, we need to add the PPA repository before going to directly install Python 3.9 in the Ubuntu system.
The command is as follows:
- $ sudo add-apt-repository ppa:deadsnakes/ppa
Step 2- Update the system
We can apply the update command for updating our apt cache. This command will aid to update every package listed in Ubuntu.
- $ sudo apt update
Step 3- Install Python 3.9
Once every package is updated, we can use the following command for installing the updated release of Python 3.9:
- $ sudo apt install python3.9
Step 4- Checking the version
Python 3.9 is now installed on our system. We can check the version of Python with the help of the following command:
- $ python 3.9 -V
The installation process of the 3.9 version of Python is now completed.
How to Remove Python 3.9 from Ubuntu
In addition, if we wish to uninstall or remove python 3.9, the below command will be applied and it will delete Python 3.9 version from our system:
- $ sudo apt autoremove python3.9
Note: We can install python3.9 similarly like python3.8. and so on.

